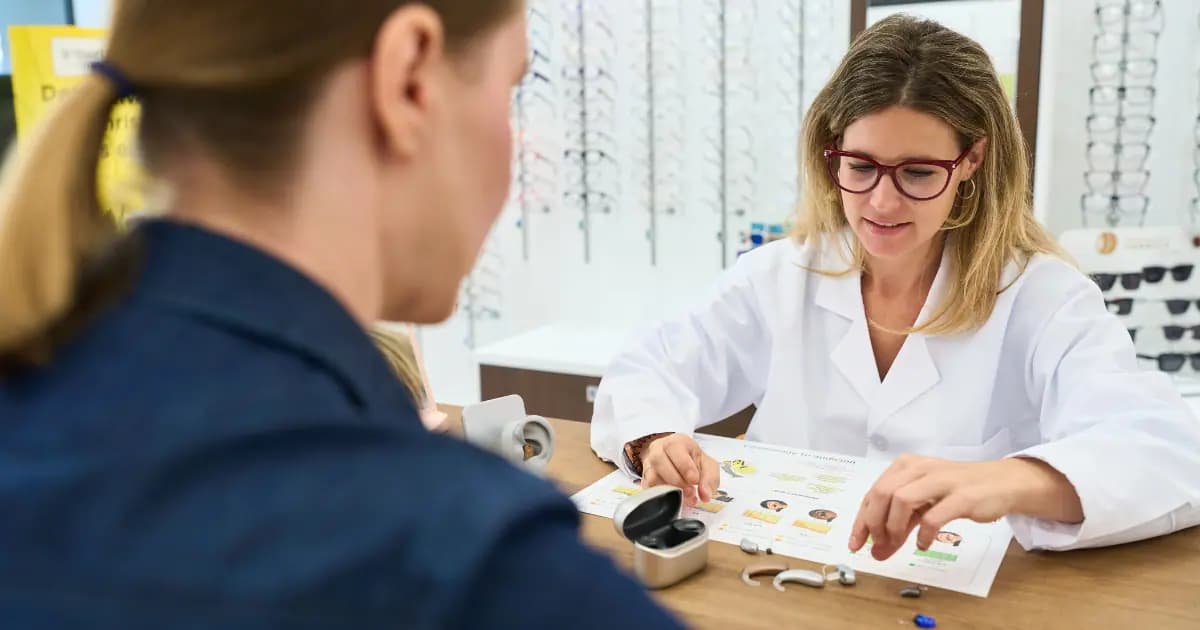

Hearing aids are an important part of everyday life for many people, making conversations easier and helping users stay connected with family, friends, and their community. Like any device used daily, they perform best when kept clean.
Dust, earwax, skin oils, and moisture can build up over time, affecting sound quality or causing unnecessary repairs. Fortunately, regular cleaning is simple when done correctly.
At 3D Hearing, we help patients throughout Annapolis, Waldorf, Pasadena, Huntingtown, and surrounding Maryland communities get the most from their prescription hearing aids. Here is a practical guide to cleaning your hearing aids safely at home without causing damage.
Why Regular Hearing Aid Cleaning Matters
Hearing aids sit in and around the ear for many hours each day. This naturally exposes them to:
- Earwax
- Sweat
- Skin oils
- Dust
- Humidity
- Hair products and cosmetics
If these materials accumulate, they can:
- Reduce sound clarity
- Block microphones or receivers
- Cause intermittent performance
- Shorten the lifespan of the device
- Increase the need for professional repairs
Routine maintenance helps protect your investment while ensuring your hearing aids continue delivering the clear sound they were designed to provide.
A review published in the International Journal of Audiology notes that regular maintenance and proper cleaning significantly improve hearing aid performance and reduce avoidable device failures.
Gather the Right Cleaning Supplies
Before cleaning your hearing aids, make sure you have the proper tools.
Recommended supplies include:
- Soft, dry microfiber cloth
- Hearing aid cleaning brush
- Wax removal pick (provided by your hearing care provider)
- Wax guard replacement (if applicable)
- Hearing aid cleaning wipes approved by the manufacturer
- Hearing aid drying cup or electronic dryer (especially helpful during humid Maryland summers)
Avoid household cleaning products or improvised tools that could damage delicate components.
Step 1: Turn Off Your Hearing Aids
Always power off your hearing aids before cleaning.
If your hearing aids use disposable batteries:
- Open the battery door.
- Remove the battery if recommended by your manufacturer.
If they are rechargeable:
- Turn them completely off before cleaning.
This helps prevent moisture from reaching sensitive electronics.
Step 2: Wipe the Exterior Daily
A soft microfiber cloth is often all you need for everyday maintenance.
Gently wipe:
- The outer shell
- Buttons
- Volume controls
- Battery compartment exterior
This removes oils and moisture before buildup occurs.
Daily cleaning only takes a minute but can greatly extend the life of your hearing aids.
Step 3: Remove Earwax Carefully
Earwax is one of the most common causes of hearing aid performance issues.
Use the manufacturer-approved cleaning brush or wax pick to gently remove visible wax from:
- Receiver openings
- Ear domes
- Vents
Brush away from the microphone openings rather than pushing debris further inside.
If your hearing aids use wax guards, replace them according to your hearing care provider’s recommendations.
Never insert pins, toothpicks, needles, or other sharp objects into the hearing aid.
Step 4: Clean the Ear Domes
For hearing aids with removable silicone domes:
- Remove the dome carefully.
- Wash it with warm water and mild soap.
- Rinse thoroughly.
- Allow it to dry completely before reinstalling.
Even a small amount of trapped moisture can interfere with performance.
If you wear custom earmolds, follow the cleaning instructions provided by your hearing care professional.
Step 5: Protect Against Moisture
Moisture is one of the biggest threats to hearing aids.
Maryland’s humid climate can expose devices to excess moisture year-round.
To help protect your hearing aids:
- Store them in a drying container overnight.
- Remove them before showering or swimming.
- Dry your ears thoroughly before inserting them.
- Remove hearing aids before applying hairspray or lotions.
Research published by the American Academy of Audiology highlights moisture management as one of the most effective ways to extend the reliability of hearing aids.

What Never to Use
Some cleaning methods can permanently damage hearing aids.
Avoid using:
- Alcohol
- Bleach
- Household cleaners
- Vinegar
- Hydrogen peroxide
- Running water on the hearing aid itself
- Compressed air
- Hair dryers
- Cotton swabs pushed into openings
These products may damage microphones, receivers, protective coatings, or internal electronics.
Always follow manufacturer recommendations for your specific model, whether you wear Oticon, Phonak, Starkey, Widex, Signia, or another prescription hearing aid.
How Often Should You Clean Your Hearing Aids?
A simple schedule makes maintenance easy.
Every Day
- Wipe the exterior.
- Inspect for earwax.
- Store in a dry location overnight.
Every Week
- Brush away wax buildup.
- Check microphone openings.
- Inspect tubing or domes.
Every Month
- Replace wax guards if needed.
- Inspect for cracks or wear.
- Schedule professional cleaning if performance has changed.
Regular care helps reduce the need for emergency repairs and keeps your hearing aids working consistently.
Signs Your Hearing Aids Need Professional Cleaning
Home cleaning is effective for routine maintenance, but some problems require professional attention.
Schedule a visit if you notice:
- Weak or distorted sound
- Frequent feedback or whistling
- Hearing aids cutting in and out
- Moisture trapped inside the device
- Visible cracks or broken parts
- Persistent wax blockage that won’t clear
Professional equipment can safely remove debris from areas that cannot be cleaned at home.
Why Professional Maintenance Still Matters
Even with excellent home care, hearing aids benefit from periodic professional servicing.
At 3D Hearing, we inspect:
- Microphones
- Receivers
- Wax protection systems
- Programming
- Overall device performance
We also verify that your hearing aids continue to match your hearing needs, since hearing can change gradually over time.
As a local Maryland hearing care provider, our focus is on long-term relationships, not simply selling hearing aids. We proudly serve patients throughout Annapolis, Waldorf, Pasadena, Huntingtown, Anne Arundel County, Calvert County, and Charles County with personalized hearing care, hearing aid maintenance, and ongoing support.

Keep Your Hearing Aids Performing Their Best with Expert Care
Cleaning your hearing aids at home doesn’t need to be complicated. A few minutes of daily care can help maintain clear sound, reduce repairs, and extend the life of your investment.
Using the proper tools, avoiding harsh cleaners, and scheduling regular professional maintenance help ensure your hearing aids continue supporting the conversations and activities that matter most.
If your hearing aids aren’t performing as they should or you’d like a professional cleaning or hearing aid check, the experienced team at 3D Hearing is here to help.
Visit https://www.3dhearing.com/ to schedule an appointment and receive trusted, personalized hearing care from your local Maryland experts.
Explore 3D Hearing